
Using Amazon SES with your MultiFunction Printer - Part 1
- 4 minsUsing Amazon SES with your MultiFunction Printer - Part 1
Intro & pre-requisites
So, it’s been a while, right ? Time for a new post to show you how easy it is to use Amazon SES for a simple use-case. If your MultiFunction Printer (MFP) can send emails, de-commission your mail server and let Amazon SES do the job for you; it’ll be a reliable, scalable, and inexpensive way to send and/or receive email and it’s perfect for our use-case. Also, Amazon SES is part of the AWS Free Tier where there’ll be no charge for the first 62,000 email messages you send, and the first 1,000 email messages you receive - as of Sept. 6th 2017.
For this tutorial/use-case, I am using one of my domain names (davini.co) and the following:
software
hardware
- my trusty Macbook pro running Apple MacOs Sierra (10.12.6)
- an HP LaserJet m475dn
services
- Amazon SES
- Amazon IAM
- Amazon Route 53
Getting our hands dirty
Working with domains
If you need to send emails with Amazon SES, one of the first things you need to do (assuming your domain is already handled in Amazon Route 53) is to verify your domain; that implies adding a TXT record to make sure the domain is yours and adding CNAMEs for DomainKeys Identified Mail (DKIM) usage (optional).
export VERIFICATIONTOKEN=$(aws ses verify-domain-identity --domain davini.co --output text)

export ZONEID=$(aws route53 list-hosted-zones | jq -r '.HostedZones[] | select(.Name == "davini.co.").Id' | cut -d'/' -f3)
export TMPFILE=$(mktemp /tmp/temporary-file.XXXXXXXX)

cat > ${TMPFILE} << EOF
{
  "Comment": "created by awscli for Amazon SES init.",
  "Changes": [
    {
      "Action": "CREATE",
      "ResourceRecordSet": {
        "ResourceRecords": [
          {
            "Value": "\"${VERIFICATIONTOKEN}\""
          }
        ],
        "Name": "_amazonses.davini.co.",
        "Type": "TXT",
        "TTL": 60
      }
    }
  ]
}
EOF

aws route53 change-resource-record-sets --hosted-zone-id $ZONEID --change-batch file://"$TMPFILE"

{
  "ChangeInfo": {
    "Status": "PENDING",
    "Comment": "created by awscli for Amazon SES init.",
    "SubmittedAt": "2017-09-05T10:11:01.346Z",
    "Id": "/change/CXXXXXXXXXXXK"
  }
}

aws route53 list-resource-record-sets --hosted-zone-id $ZONEID --query "ResourceRecordSets[?Name == '_amazonses.davini.co.']"

[
    {
        "ResourceRecords": [
            {
                "Value": "\"ABCDEFGHIJKLMNOPQRSTUVWXYZabcdefghijklmnopqrstuvwxyz123\""
            }
        ],
        "Type": "TXT",
        "Name": "_amazonses.davini.co.",
        "TTL": 60
    }
]
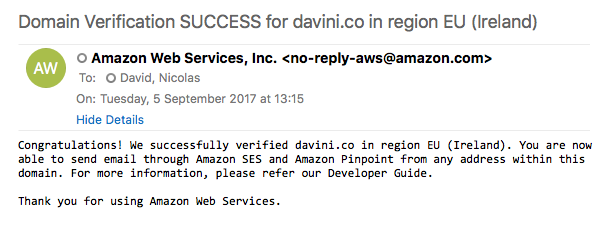
The creation of the record should now be PENDING and you should be able to see your brand new TXT record for Amazon SES to verify your domain.
Additionally, you will also receive an email on your root account email to inform you on the validation’s final status.
For this section, references are as follows:
- SES Verify Domain Identity
- ROUTE53 List Hosted Zones
- ROUTE53 Change Ressource Record Sets
- ROUTE53 List Ressource Record Sets
Time to send your very first email from Amazon SES
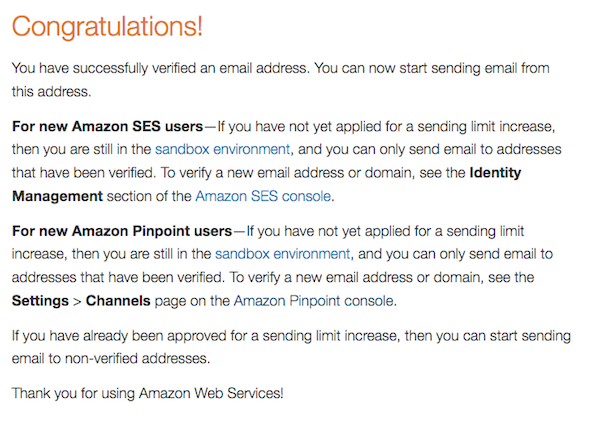
Now that everything is setup, we’ll make sure we can send/receive emails before setting up the MFP. First, we validate our email address:
aws ses verify-email-identity --email-address cloud@davini.co
You should then receive an email to validate our email address, which, when clicked, redirects your browser to the following page:
Then we create JSON datastructures for both destination & message then feed that to the aws cli:
dest.json
{
  "ToAddresses":  ["cloud@davini.co"]
}
message.json
{
   "Subject": {
       "Data": "testing one two ...",
       "Charset": "UTF-8"
   },
   "Body": {
       "Text": {
           "Data": "Hello world!",
           "Charset": "UTF-8"
       },
       "Html": {
           "Data": "<b>Hello <u>world!</u></b>",
           "Charset": "UTF-8"
       }
   }
}
sending your email
aws ses send-email --from cloud@davini.co --destination file://dest.json --message file://message.json

{
    "MessageId": "01234567890123-66666666-7777-8888-9999-abcdefghiklm-000000"
}
And with no surprise, a new email is in my mailbox :-)
/***
From: cloud@davini.co
To: cloud@davini.co
Subject: testing one two ...
MIME-Version: 1.0
Content-Type: multipart/alternative;
***/
For this section, references are as follows
Next steps
This setup being done, next step is to configure the MFP and tighten security with DomainKeys Identified Mail (DKIM), IAM Identity Policies, custom MAIL FROM domain & detailed notifications about your bounces, complaints, and deliveries. Speaking of complaints, have you seen the Amazon SES reputation dashboard to track bounce and complaint rates ?

Nicolas David
Entrepreneur, Autodidact, OpenSource enthusiast, Amateur photographer & Food aficionado.